Crear una imagen para fondo Windows Vista

{ viernes, 30 de octubre de 2009 }

Final Image Preview

Before we get started, let's take a look at the image we'll be creating. Click the screenshot below to view the full-size image. As always, the layered Photoshop file is available via our PSDTUTS Plus membership.
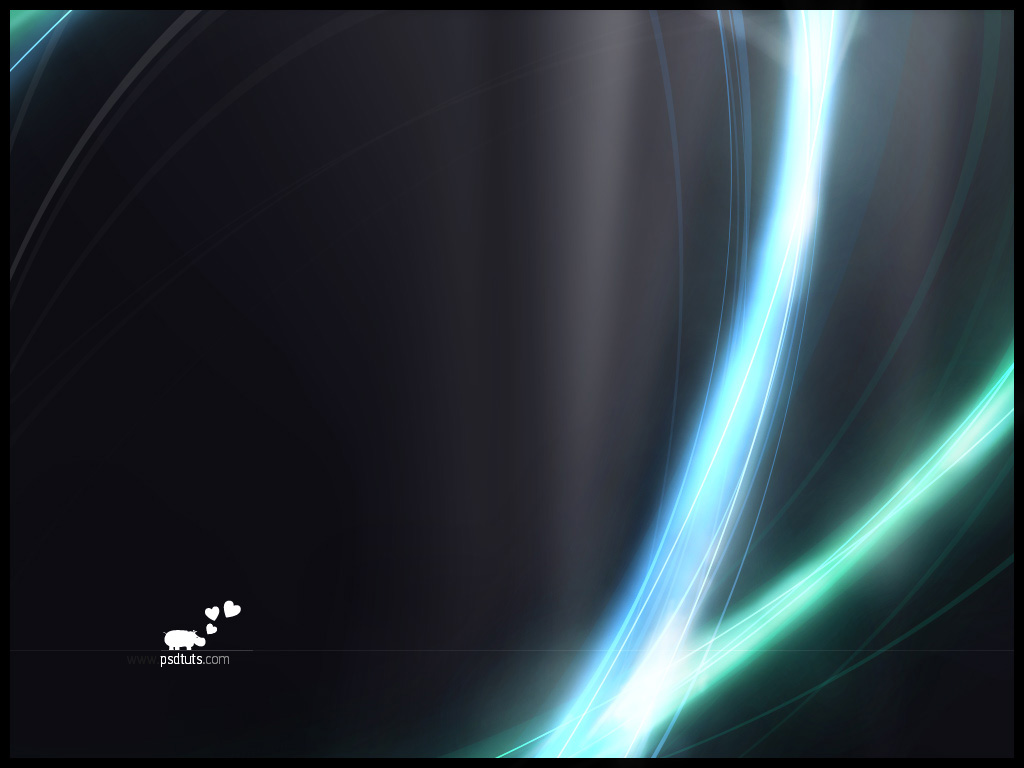
Final Click

Step 1

Start a new screen sized document in Photoshop. In this case, I chose 1024px by 768px resolution so I can see the whole thing without scrolling. Fill the background with black color. Then pick the Polygonal Lasso Tool, and choose a part of the document. Then use the Gradient Tool to draw a gradient from white to transparent into new layer. Repeat this several times (always into new layer).

Step 2

To make the background less expressive, turn the Opacity down.

Step 3

Merge the layers together (Ctrl + E). Then blur them with the Gaussian Blur filter. A small preview of whole document follows.

Step 4

To make it more expressive in some places continue drawing radial gradients from white to transparent.

Step 5

Turn its opacity to a hardly remarkable level.

Step 6

Well, there is never enough white to transparent gradients, right?

Step 7

Just don't forget to turn the opacity down wisely.

Step 8

You can make the background more interesting by copying all the layers and flipping them (Ctrl + T), or move them a little.

Step 9

256 shades of grey aren't enough for this gentle manipulation.

Step 10

That is why we should merge the layers together, and blur them again a little. That is what solves the rough gradients, but another problem arises - the picture darkens on the sides, and the dark parts make strange "waves."

Step 11

This can be fixed with a larger document than the screen resolution, or add a frame that is wide enough. And remember that for next time. That is how we solved random gradients on a background.

Step 12

Now we can start doing the foreground with blue and green curves. Start with drawing a huge ellipse with the Ellipse Tool. Pick the Path Selection Tool (A). Then select the ellipse, copy it (Ctrl+C), then insert it (Ctrl+V), and then transform it (Ctrl + T) to make it smaller. Set the drawing style for this path to subtract, so we see only what is between these two ellipses.

Step 13

Fill the layer with a blue color (#62AAF4). Then copy, move, enlarge, make it smaller, and turn the Opacity down or up. Do this a few times.

Step 14

Then repeat these actions with the green (#20EDC4) shapes.

Step 15

Next I decided to darken the gradients in the background a little, as they get too much attention. This should be better.

Step 16

Continue with creating larger curved shapes. Then blur those shapes, which will give that extra glow effect. Notice the big blue curves being created in the image below.

Step 17

Next we'll make big curve shapes for the greens as well. Those big shapes are the previous ellipses copied. Then with Path Selection Tool, we select one smaller ellipse that gets smaller again. See the image below.

Step 18

The colors of those shapes are still the same, just the Opacity is turned down. Sometimes, the opacity is turned down to a hardly noticeable level of (5-10%), as shown below.

Step 19

Place all the blue and green layers into a new folder. Then copy that folder, move it sideways, and turn it a little.

Step 20

Let's get started with the lighting part. The first step is to change the layer's interaction to Linear Dodge .

Step 21

The second step is to add the layer effect of Drop Shadow. Set it to a large size with the color the same as the shape in the layer (blue, green). Also, set the interaction to Linear Dodge again.

Step 22

I don't have enough green layers in the document, so I copy some more.

Step 23

Copy the layer styles to every blue layer (just change the effect color to blue). Part of the design is shown in the following image, which is the result we want so far.

Step 24

To achieve the bright glowing light look, we need to repeat the same things over and over again. You can use the previous big layers, merge them together, and set their interaction to Linear Dodge. Then you can add a mask layer. Then go to Filter > Render > Clouds in this mask. That makes the layer visible in only some places.

Step 25

If you make all layers visible, the result becomes more expressive.

Step 26

We can do the effect manually as well. For example, create a new Adjustment layer with the Brightness & Contrast turned up. Fill the layer mask with a black color, which makes the effect visible nowhere. Then start drawing in the mask with a white soft brush. The brush revels the effect. It increases the brightness only where you want it to. This technique may be used for the final brightening of both the blue and green curved shapes.

Step 27

Here is the preview at 100% size. Using the adjustment layer generates good looking overburns.

Final result

Your image is complete. Again, do not hesitate to experiment. You are only limited by your computer performance. Click the following picture to see the result at 100% in 1024px by 768px resolution.

Conclusion

It is not difficult to change the final resolution because every single layer was larger than the document window. Either you can enlarge the document size (shapes are in vectors, so there are no quality defects), or you can enlarge the canvas size (the layers stay the same, but you make visible the parts that were hidden before).

Canvas size manipulation was used when preparing the following picture at 1280px by 1024px resolution. This one deserves some adjustment, but it's up to you now. Good luck with your work!
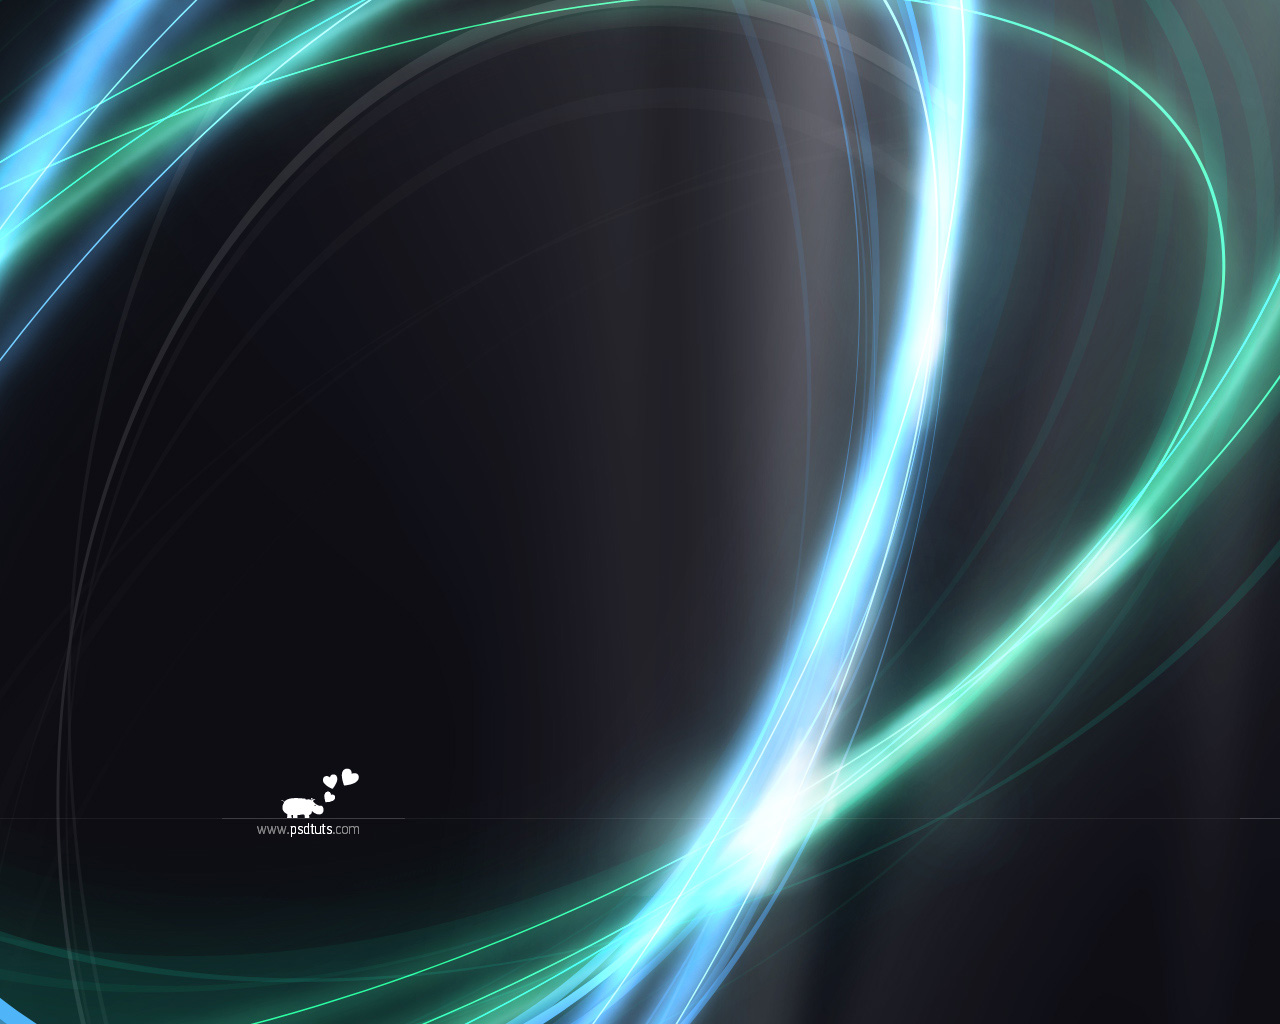
increible efecto

{ }

Flying Girl in PhotoshopListThumbs

Flying Girl in Photoshop

November 17, 2008

A few weeks ago I published a tutorial called Girl in Tempo. I used the new version of Pixelmator that had the codename Tempo. The result was really nice and I got a very positive feedback, and, also some emails asking me to do that tutorial in Adobe Photoshop. So yesterday I took a couple of hours to create the Photoshop version of my flying girl.

In this tutorial we will use some stock photos and mix them together to create a nice effect. It was inspired by a chapter of the depthCORE collective called NOIR.

Step 1

Create a new document in Photoshop, as usual I used 1920x1200 pixels. Then select the background layer and add a layer style, go to Layer>Layer Style>Gradient Overlay. Use Radial for the Style, and Scale 62%. You will have to position the gradient later on as well, but try to move it a bit to the left, use the image below for reference.

Flying Girl in Photoshop

Step 2

Here I used a photo from iStockphoto, http://www.istockphoto.com/file_closeup.php?id=6178363. You can use any photo. Just extract the girl from the background and place it in the center. Try to position her right hand in the center of the gradient.

Flying Girl in Photoshop

Step 3

Duplicate the girl's layer and hide one. Select the visible layer and go to Image>Adjustments>Hue/Saturation. Reduce the Saturation to -100. You will have a grayscale photo.

Flying Girl in Photoshop

Step 4

Duplicate the hidden layer with the color girl layer. This layer has to be in front of the grayscale layer. Change the Blend Mode to Color Dodge and go to Filter>Blur>Motion Blur. Use 90º Angle and 100 pixels for the Distance.

Flying Girl in Photoshop

Step 5

Duplicate again the color copy of the girl layer. Then move it to the top of the others and change the Blend Mode to Overlay. After that go to Filter>Blur>Gaussian Blur. Use 7 pixels for the Radius.

Flying Girl in Photoshop

Step 6

Select the color girl layer, the one that is behind the others and just add a Gaussian Blur, use 40 pixels for the Radius and change the Blend Mode to Color Dodge. As this layer will be behind the others it will create a nice outer glow when we start adding lights and other effects.

Select the 4 layers we created for the girl and group them. Rename the folder to "girl".

Flying Girl in Photoshop

Step 7

Select the Gradient Tool (G) and then go to the Gradient Editor. Just click on the gradient colors. Change the Type to Noise, Roughness to 100% and for the Options select Restrict Colors and Add Transparency.

Step 8

Create a new layer on top of the others and with the Gradient Tool and the gradient you have just created, select the Angle Gradient Style. Then just starting for the girl's right hand fill the layer with the gradient. You will get an effect like the image below.

Flying Girl in Photoshop

Step 9

Go to Image>Adjustments>Desaturate. Then go to Filter>Blur>Gaussian Blur. Use 4.5 pixels for the Radius. Change the Blend Mode to Color Dodge and go to Image>Adjustments>Levels. Increase the white so the rays are brighter. Also with the Eraser Too (E)l, or mask. Delete some areas of the layer, leave just the area close to the hand and the background's gradient.

Flying Girl in Photoshop

Step 10

Create a new Folder and rename it to Light, this folder has to be on top of the others. Change the folder's Blend Mode to Color Dodge. Inside this folder create a new layer and with the Brush Tool(B), use a basic round brush, very soft (0% hardness), and white color. Paint the area in the girls hand. You will get a nice light effect.

Flying Girl in Photoshop

Step 11

Now lets add some lights behind the girl. Create a new layer and with the Brush Tool (B) change the opacity to 5%. Using a soft brush with white, paint a very subtle area behind the girl.

Flying Girl in Photoshop

Step 12

Now select a blue color and with a bigger brush, create a new layer and paint a blue light coming from the top.

Flying Girl in Photoshop

Step 13

Here let's use another photo, you can download it at http://www.sensitivelight.com/coloured_smoke0D0T9227.jpg. Just place it in the document. Resize and rotate it the way you want and change the Blend Mode to Color Dodge. Use the image below for reference.

Flying Girl in Photoshop

Step 14

Let's do the same thing with another photo, this time a photo of some clouds I took sometime ago, you can download it at http://flickr.com/photos/azeected/2917610951/. The first thing to do is go to Image>Adjustments>Desaturate. Then go to Image>Adjustments>Levels. Increase the blacks until you get a full black background. Then change the Blend Mode of the photo to Screen. What was black becomes transparent and we're good to go ;)

Flying Girl in Photoshop

Step 15

Here you just duplicate the cloud's layer and create more instances of that. Resize and rotate them so you can get better results. Also, place one cloud behind the girl to give some depth to the image.

Flying Girl in Photoshop

Step 16

Once again, let's use a photo to create the stars, you can download it here. You can create them using the Noise, but as there are so many excellent photos of that subject on the internet that sometimes it's not worth spend time creating something from scratch, at least in my humble opinion. Place the photo in the document and change the Blend Mode to Color Dodge.

Flying Girl in Photoshop

Step 17

Repeat the Step 8 and 9 to create another Angle Gradient. This time start from the the girls right foot. Then with the Eraser Tool or Mask, delete almost all layer, leave just the top part over the blue light. That will work like some rays of light coming from the top. Also if you want to make the lights brighter just duplicate the layer. I duplicated 2 times, so there are 3 layers for that light.

Flying Girl in Photoshop

Step 18

Here I used a image I created in Cinema 4D that is like an explosion full of particles, you can download it here. Place the image and then go to Filter>Blur>Radial Blur. The most difficult thing here is find the right position for the Blur Center because the idea is that the center is the girls hand with that shine light. I recommend you to convert the layer to Smart Objects so you will be able to edit the blur anytime until you find the right place. Use 10 for the Amount, Zoom for the Blur Method, and Best for the Quality.

Flying Girl in Photoshop

Conclusion

You can add a layer on top of the others with a bit of noise just to give to the image a bit of realist feeling. The process is quite similar to the Pixelmator version, of course each tool has some pros and cons, but the best thing is that the idea of the filters and blend modes are the same. Actually all these types of tools share the same sort of base so if you know one it's pretty easy to learn and use another. That's why I say that the tool is the least important part of the design process.

Flying Girl in Photoshop
Click here the see the Full Preview.

{ martes, 20 de octubre de 2009 }

ebbudy

{ domingo, 18 de octubre de 2009 }